Static SPAs: Exploration of Leptos, Dioxus, and Next.js
One of my absolute favorite methods of deploying Frontends is to pre-generate all routes statically, and then let each route load the dependencies they need for interactivity.
- Load times are fast
- The user only downloads what they need (great for slower or mobile networks)
- SEO is great in many cases, and okay in others1
- It can all still be deployed in the most optimal way which is CDN + Static Assets2
I particularly care a lot about infrastructure scalability, maintainability, robustness, and cost. SSR typically makes each of these significantly worse compared to simply serving static files. I also don’t believe mixing your API into your Frontend code (i.e. Server Actions) will do you any favors when you start scaling up your teams, but that’s a topic for another day.
In this post we'll explore how this can be setup and compare a couple of different frameworks. Let's start with the overall results before we dive into the details:
| Framework | SSG Support | Hydration Support | Assets Chunking |
|---|---|---|---|
| Next.js | ✅ | ✅ | ✅ Chunk per page |
| Leptos | ✅ | ✅ | ❌ One single WASM bundle* |
| Dioxus | ✅** | ✅ | ❌ One single WASM bundle* |
*: Support for chunking in WASM is generally poor, although recent strides have been made towards it (see wasm-bindgen#3939)
**: Dioxus support is in a state of flux, changing and improving how Static Generation is supported, leading to the docs and examples currently being broken (tracked in dioxus#2587)
In case it’s still not clear exactly what I mean with a “Static SPA”, let’s set up an example with Next.js, which supports this out of the box. The term for this is a bit messy, and you’ll find that React believes that this can still be called SSR where your rendering is just happening in compile time. Next.js will be calling this SSG in their Pages Router, and has confusingly changed the name of this in their newer App Router to be called Static Exports.
Let’s dive into the comparisons of how to achieve this across frameworks:
At least if that’s a concern and your App is not gated behind auth anyways, in which case the SEO aspect doesn’t matter at all
As opposed to SSR (Server-side Rendering) which requires a server to be running that can generate and serve your assets
Next.js SSG
Let’s set up a new Next.js project using the Next.js 15 release candidate so we can test all the latest advances for both React and Next.js.
We’re gonna accept most of the default recommendations:
)
)
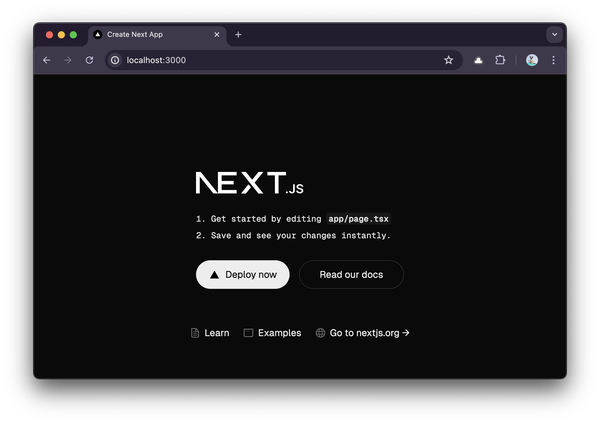
If we cd next-example and run bun run dev we’ll get a nice little start page:
Extending the default Next.js project
Now, for us to actually see anything interesting being generated later on, we’ll need to have more pages than just a single start page. Let’s add a few new pages with some test content.
We’ll set up two pages, reusing the styling of the main page, the first one in next-example/app/sub-page/page.tsx (create the missing sub-page directory):
1 "use client";
2
3 ;
4
5 6 7 8 9 10 11 12 13 14 15 16 17 18 19 20
And another similar one in next-example/app/another-page/page.tsx (create the missing another-page directory):
1 "use client";
2
3 ;
4
5 6 7 8 9 10 11 12 13 14 15 16 17 18 19 20 21 22 23 24 25 26 27
Note that in both of these examples we’re doing things that happen on the client-side (via useState and useEffect), so we need the "use client"; pragma at the top.
And finally, we’ll link to these pages from our App entry point in next-example/app/page.tsx:
1 ;
2 ; // This line here
3
4 5 6 7 8 9 10 11 12 13 14 15 16 17 18
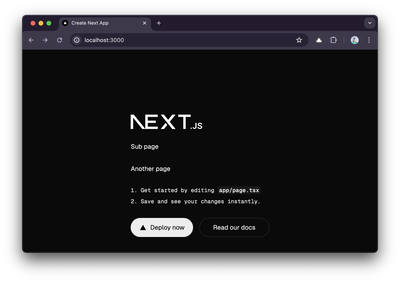
We can run the development server to check that everything works via bun run dev in the next-example directory:
Now that we have a few pages to render, using some interactivity and browser APIs, let’s take a look at how we’ll do that.
Configuring SSG
The first change we’ll make will be to change our build output to be an export which is what Next.js calls SSG in their App Router.
Open your next-example/next.config.mjs file and add the following lines:
1 /** @type {import('next').NextConfig} */
2 3 4 5 6 ;
7
8 ;
The trailingSlash configuration will depend on your deployment method, but it essentially makes sure our simple static file server later on can serve the files without needing any logic to rewrite paths.
We can now inspect the generated build assets by running bun run build in the next-example directory
)
)
Let’s check out what Next.js generated for us in the out/ folder:
The interesting files here are:
out/index.html: The generated HTML for our starting pageout/sub-page/index.html: The generated HTML for our sub-pageout/_next/static/chunks/app/sub-page/page-b5ac62c0a67a677a.js: The JavaScript that is specific to our sub-page, and will only be loaded on that pageout/another-page/index.html: The generated HTML for our another-pageout/_next/static/chunks/app/another-page/page-aa4b7b15eb983969.js: The JavaScript that is specific to our another-page
The chunking of the JavaScript into smaller files, some shared and some page specific, is great for our users and will mean they’ll only load the minimal JavaScript that they need to interact with the page they are on.
Testing with JavaScript disabled
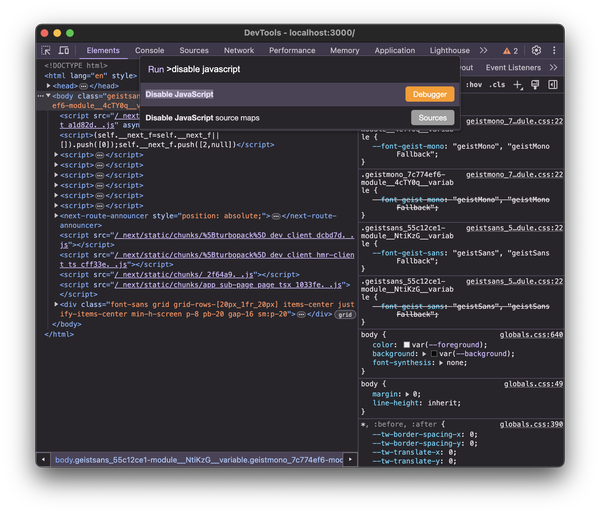
We can test our site in Chrome without JavaScript by opening the Chrome DevTools, hitting CMD + Shift + P, and typing in “Disable JavaScript”
We can then serve our static files by via cd next-example/out && bunx simplehttpserver. Let’s make some comparisons, running with JavaScript and with JavaScript disabled.
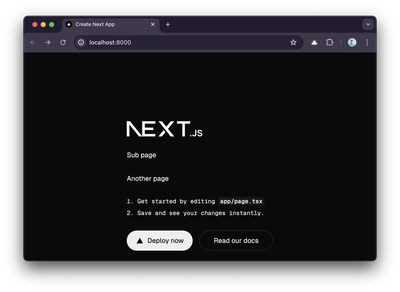
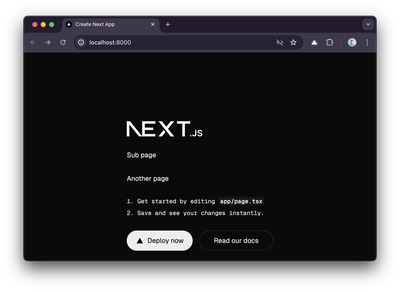
First, our start page. Looking exactly the same, with all links working and no other changes in functionality since we didn’t have anything interactive here:
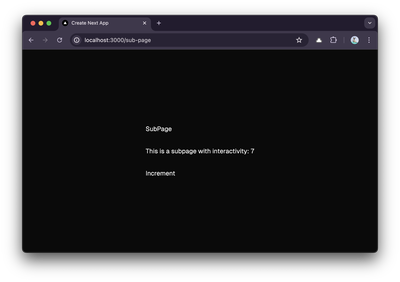
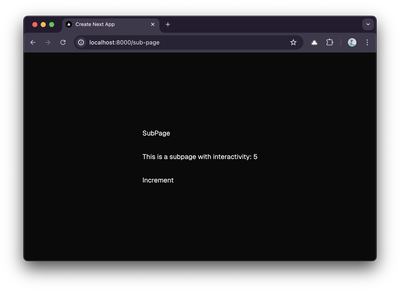
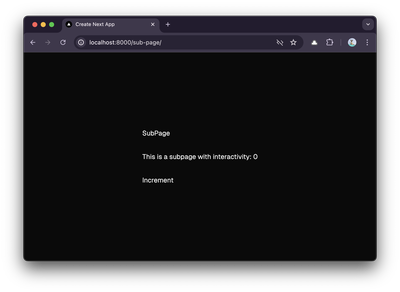
Our sub-page will look exactly the same, but once you try to interact with the Increment button when JavaScript is disabled it obviously will not work:
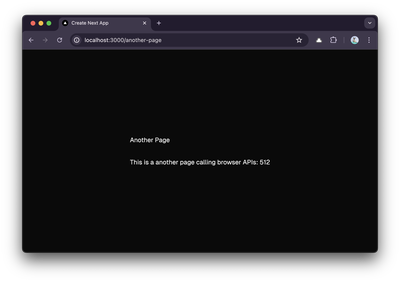
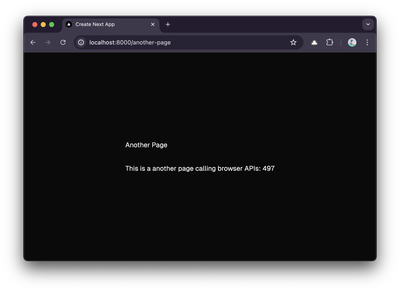
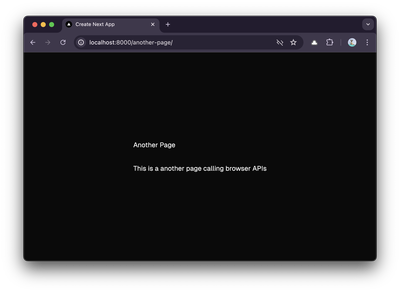
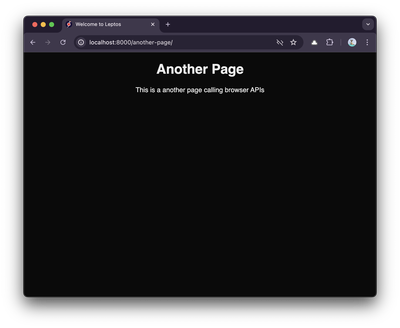
We do notice a tiny difference in our another, specifically it will never call the useEffect to get the browser height when JavaScript is disabled. Nothing surprising here:
The above should demonstrate exactly the benefit of this approach: We get most of the benefits of SSR without paying the costs. SEO crawlers will be able to read most of our content, except for the dynamic parts.
There’s a lot more you can do in the static exports, e.g. generate dynamic routes such as pre-generating all your i18n routes for each language.
I have an example of that in the Next.js setup I use in this post: https://codethoughts.io/posts/2023-10-16-the-stack-part-3/#next-js.
Optional configuration
If you’re looking for some additional recommendations to make your Next.js site better for your users, I’d recommend the following.
Enable the experimental support for the React Compiler, by first installing it:
$ bun install --dev babel-plugin-react-compiler
And updating the next-example/next.config.mjs:
1 /** @type {import('next').NextConfig} */
2 3 4 5 6 7 8 9 10 ;
11
12 ;
13
Further Reading
It’s worth reading the notes on supported features as well as unsupported features. Here are a few snippets:
Server Components: When you run
next buildto generate a static export, Server Components consumed inside theappdirectory will run during the build, similar to traditional static-site generation.
and:
Client Components: If you want to perform data fetching on the client, you can use a Client Component with SWR to memoize requests.
as well as:
Browser APIs: Client Components are pre-rendered to HTML during
next build. Because Web APIs likewindow,localStorage, andnavigatorare not available on the server, you need to safely access these APIs only when running in the browser.
Leptos SSG
Now that we have a clear concrete idea of what our goal is and why we are trying to achieve it, let’s see if we can make a similar setup using Leptos and WASM. We unfortunately can’t test the new 0.7 alpha since static routes are yet to be supported.
We do however need to be using a branch, which includes my fix for generating sub-routes with trailing slashes correctly (leptos#2667), until that gets merged. I'd recommend just waiting until it's merged and a new release is cut.
If you don’t already have cargo-leptos and cargo-generate, we’ll set that up first so that we can use the leptos-rs/start-axum starter template:
We can now get started with our Leptos project, calling it leptos-example:
Let’s cd leptos-example and finish setting up the project by adding our compiler targets using rustup:
And finally, we’ll want the generated files to be hashed. Edit your leptos-example/Cargo.toml:
1 # ...add to your existing [package.metadata.leptos]
2 []
3 # Enables additional file hashes on outputted css, js, and wasm files
4 #
5 # Optional: Defaults to false. Can also be set with the LEPTOS_HASH_FILES=false env var (must be set at runtime too)
6 = true
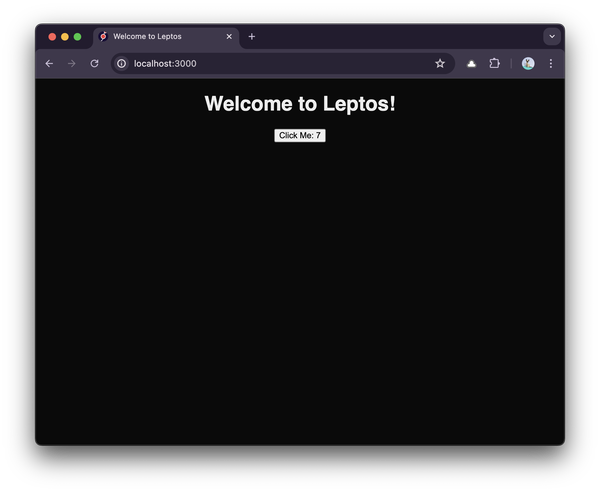
If we run cd leptos-example and run cargo leptos watch we get a nice little start page:
To avoid your eyes bleeding from the default white background, you can update the default leptos-example/style/main.scss to:
1 {
2 :;
3 :;
4 :;
5 :;
6 }
Extending the default Leptos project
Just like with Next.js, for us to actually see anything interesting being generated later on, we’ll need to have more pages than just a single start page. Let’s add a few new pages with some test content.
We’ll set up two pages, the first one in leptos-example/src/subpage.rs, mimicking the equivalent Next.js page:
1 use *;
2
3
4 5 6 7 8 9 10 11 12 13 14
Similarly, we’ll set up in leptos-example/src/anotherpage.rs, mimicking the equivalent Next.js page:
1 use *;
2 use window;
3
4
5 6 7 8 9 10 11 12 13 14 15 16 17 18 19 20 21 22
We’ll also need to update our leptos-example/src/lib.rs to make these pages accessible in our project:
1
2
3
4
5 // This line here
6 // This line here
7
8 // ...the rest of the file remains the same
And finally, add these pages to our Routes with a link by editing leptos-example/src/app.rs by first importing them:
1 use crate;
2 use *;
3 use *;
4 use *;
5 use crateSubPage; // This line here
6 use crateAnotherPage; // This line here
7 // ...
And then extending our Routes in the App component:
1                // ...add the routes in our App component.
2                <Routes>
3                    <Route path="" view=HomePage/>
4                    <Route path="/sub-page" view=SubPage/> // This line here
5                    <Route path="/another-page" view=AnotherPage/> // This line here
6                </Routes>
7                // ...
And finally, extend our HomePage component, adding the links:
1
2 3 4 5 6 7 8 9 10 11 12 13
We can run the development server to check that everything works via cargo leptos watch in the leptos-example directory:
Now that we have a few pages to render, using some interactivity and browser APIs, let’s take a look at how we’ll do that.
Configuring SSG
While static generation is a bit underdocumented in Leptos, we can get still manage by following along with Greg’s comment here as well as the 0.5 release notes on where Static Site Generation was announced.
Before making any changes, until leptos#2667 is merged, we'll have to change our leptos dependency to point to our PR:
1 []
2 # ...
3
4 []
5 # ...
6 = { = "https://github.com/leptos-rs/leptos", = "refs/pull/2667/head", = ["nightly"] }
7 = { = "https://github.com/leptos-rs/leptos", = "refs/pull/2667/head", = true }
8 = { = "https://github.com/leptos-rs/leptos", = "refs/pull/2667/head", = ["nightly"] }
9 = { = "https://github.com/leptos-rs/leptos", = "refs/pull/2667/head", = ["nightly"] }
10 # ...the rest of the file remains the same
Now we're ready for the actual changes. First thing, we’ll do is to change our Routes to be StaticRoutes instead. Edit the leptos-example/src/app.rs file, changing our Routes to look like this instead:
1 // ...change the routes in our App component.
2 <Routes>
3 <StaticRoute
4 mode=Upfront
5 path=""
6 view=HomePage
7 static_params=move || Boxpin
8 /> // This line here
9 <StaticRoute
10 mode=Upfront
11 path="/sub-page/"
12 trailing_slash=Exact
13 view=SubPage
14 static_params=move || Boxpin
15 /> // This line here
16 <StaticRoute
17 mode=Upfront
18 path="/another-page/"
19 trailing_slash=Exact
20 view=AnotherPage
21 static_params=move || Boxpin
22 /> // This line here
23 </Routes>
24 // ...
Both the trailing_slash=TrailingSlash::Exact and the / on the routes are important for Leptos to build the files in the correct location and way we expect.
We also need to tell Leptos to generate the output for these files, which we’ll do by updating our leptos-example/src/main.rs with some additional imports so that we can call build_static_routes:
1
2
3 async 4 5 6 7 8 9 10
This will generate the static files each time our entry function runs.
We can now inspect the generated build assets by running LEPTOS_HASH_FILES=true cargo leptos build --release following by running the binary via LEPTOS_HASH_FILES=true ./target/release/leptos-example in the leptos-example directory (you might have to exit it manually with Ctrl-C):
# ..exit the process after you've seen it build the routes
Let’s check out what Next.js generated for us in the target/site/ folder:
Testing with JavaScript disabled
Same approach as last, we’ll test our site in Chrome without JavaScript by opening the Chrome DevTools, hitting CMD + Shift + P, and typing in “Disable JavaScript”
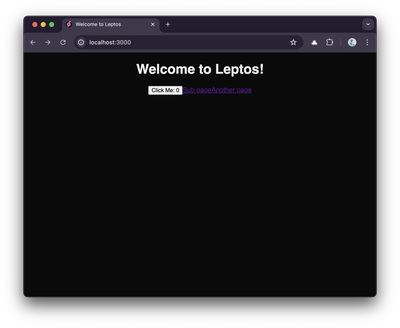
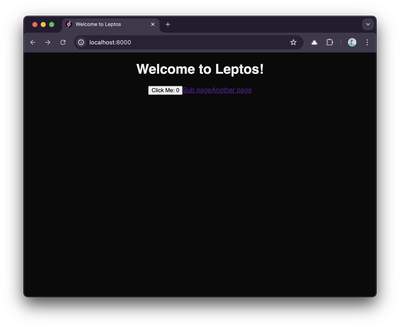
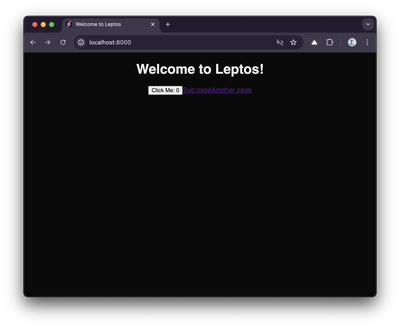
We can then serve our static files by via cd leptos-example/target/site && bunx simplehttpserver. Let’s make some comparisons, running with JavaScript and with JavaScript disabled.
First, our start page. Looking exactly the same, with all links working and no other changes in functionality since we didn’t have anything interactive here:
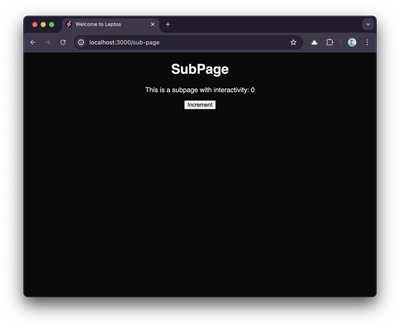
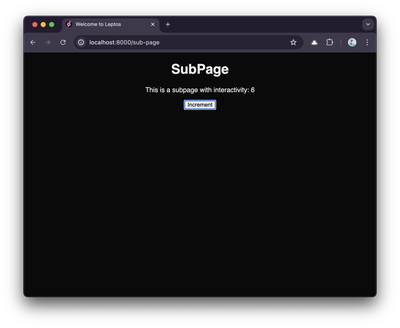
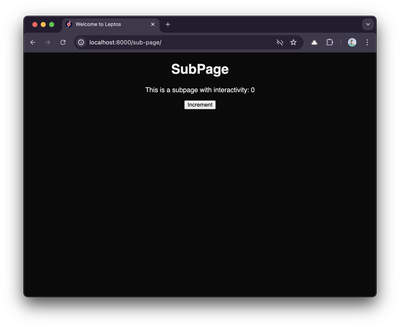
Our sub-page will look exactly the same, but once you try to interact with the Increment button when JavaScript is disabled it obviously will not work:
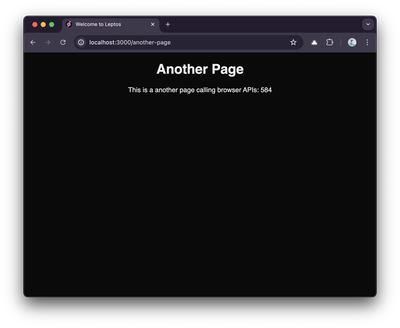
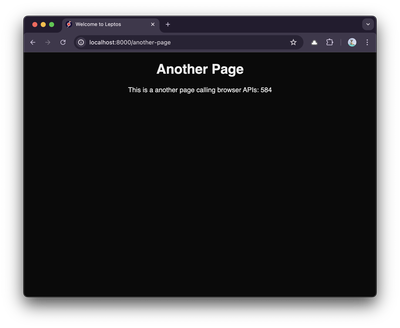
We do notice a tiny difference in our another, specifically it will never call the create_effect to get the browser height when JavaScript is disabled. Nothing surprising here:
Very similar results to Next.js!
Dioxus SSG
Let’s explore another Rust-based framework, Dioxus, to see how SSG is supported and how well it works.
We’ll start by setting up the Dioxus CLI:
# $ cargo binstall dioxus-cli # Or: cargo install dioxus-cli
We can then use the dx CLI to create our new project, which we’ll set up as a fullstack project which can “renders to HTML text on the server and hydrates it on the client”3:
If you chose TailwindCSS, you won’t have any default styling. Let’s make a small improvement to dioxus-example/input.css, which is where the Tailwind styles will be picked up from. That’ll look like this:
1 @tailwind;
2 @tailwind components;
3 @tailwind utilities;
4
5 {
6 @apply--center;
7 {
8 @apply ;
9 }
10 {
11 @apply;
12 }
13 }
And then run bunx tailwindcss -i ./input.css -o ./assets/tailwind.css in the dioxus-example directory to get the styles compiled into dioxus-example/assets/tailwind.css.
You can also safely delete the alternative dioxus-example/assets/main.css which would have been used if we hadn’t chosen TailwindCSS.
Finally, we’ll add the web-sys package to our dependencies in dioxus-example/Cargo.toml, which we’ll need later:
1 []
2 # ...
3
4 []
5 # Add web-sys crate to interact with Browser APIs.
6 = { = "0.3", = ["Window"] }
7 # ...the rest of the file remains the same
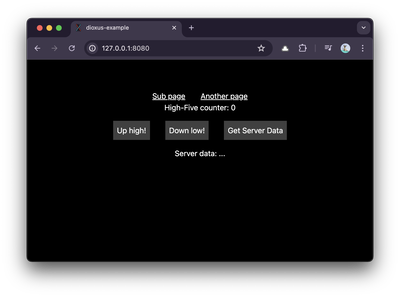
If we now cd dioxus-example and run dx serve --platform fullstack we get a nice little start page:

The default Dioxus start page using the fullstack template.
Extending the default Dioxus project
Once again, for us to actually see anything interesting being generated later on, we’ll need to have more pages than just a single start page4. Let’s add a few new pages with some test content.
We’ll set up two pages, the first one in dioxus-example/src/subpage.rs, mimicking the equivalent Next.js page:
1 use *;
2
3
4 5 6 7 8 9 10 11 12 13
Similarly, we’ll set up in dioxus-example/src/anotherpage.rs, mimicking the equivalent Next.js page:
1 use *;
2 use window;
3
4
5 6 7 8 9 10 11 12 13 14 15 16 17 18 19 20 21 22 23 24
We can now integrate these pages into our App in dioxus-example/src/main.rs. First, we’ll change our Route enum to have our new pages, and remove the default blog page:
1 // ...
2
3 4 5 6 7 8 9 10
11 // ...
Then we’ll update our Home component to link to the pages, and remove the link to the blog page as well as the Blog component:
1
2 3 4 5 6 7 8 9 10 11 12 13 14 15 16 17 18 19 20 21 22 23 24 25 26
We can run the development server to check that everything works via dx serve --platform fullstack in the dioxus-example directory:
Now that we have a few pages to render, using some interactivity and browser APIs, let’s take a look at how we’ll do that.
Dioxus does add a sub-route by default, but we’ll ignore that to make the comparisons equal
Configuring SSG
Until there’s a new release of Dioxus, we’ll have to install the CLI from git, to get the latest features:
cargo install --git https://github.com/DioxusLabs/dioxus dioxus-cli
We’ll also update our dependencies to point dioxus to a working commit where static site generation is included in 245003a5d430ab8e368094cd32208178183fc24e in dioxus-example/Cargo.toml, as well as replace the fullstack feature with the static-generation feature:
1 []
2 # ...
3
4 []
5 # Update dixous to use this specific commit 245003a5d430ab8e368094cd32208178183fc24e
6 = { = "https://github.com/DioxusLabs/dioxus", = "245003a5d430ab8e368094cd32208178183fc24e", = [
7 "static-generation",
8 "router",
9 ] }
10 # ...the rest of the file remains the same
We can now replace both the default main functions with a very simple one, as well as delete the default post_server_data and get_server_data functions. Your dioxus-example/src/main.rs should now look like this:
1
2
3 use *;
4
5
6 use SubPage;
7
8 use AnotherPage;
9
10
11 12 13 14 15 16 17 18
19
20 // Generate all routes and output them to the static path
21 22 23
24
25 26 27 28 29
30
31
32 33 34 35 36 37 38 39 40 41 42 43 44
Dioxus knows which launch function to call, based on the feature flags enabled, which in our case is static-generation.
Finally, we’ll need to adjust the default path to our generated tailwind.css file to make sure that sub-routes load it correctly from the root and not relative to themselves. Adjust the style setting in dioxus-example/Dioxus.toml:
1 # ...
2 []
3 = ["/tailwind.css"]
4 # ...the rest of the file remains the same
We can now inspect the generated build assets by running dx build --platform fullstack --release following by running the binary via ./dist/dioxus-example in the dioxus-example directory:
1
2
3
4
Let’s check out what Next.js generated for us in the static/ folder (not the dist/ folder!):
Testing with JavaScript disabled
Same approach as last, we’ll test our site in Chrome without JavaScript by opening the Chrome DevTools, hitting CMD + Shift + P, and typing in “Disable JavaScript”
We can then serve our static files by via cd dioxus-example/static && bunx simplehttpserver. Let’s make some comparisons, running with JavaScript and with JavaScript disabled.
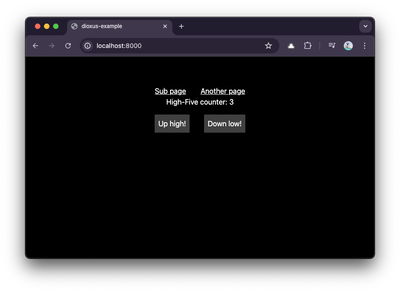
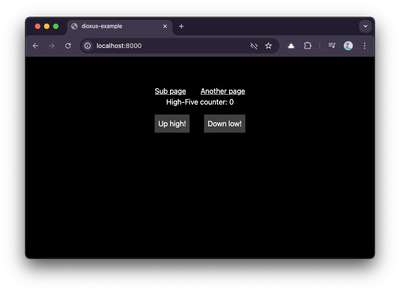
First, our start page. Looking exactly the same, with all links working and no other changes in functionality since we didn’t have anything interactive here:
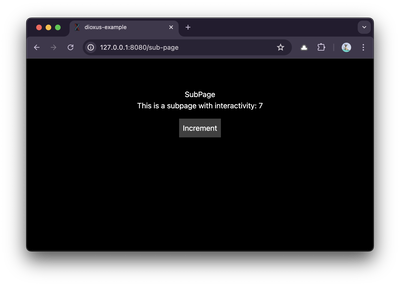
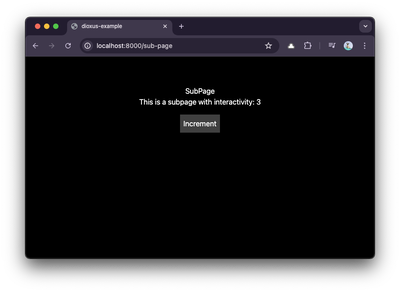
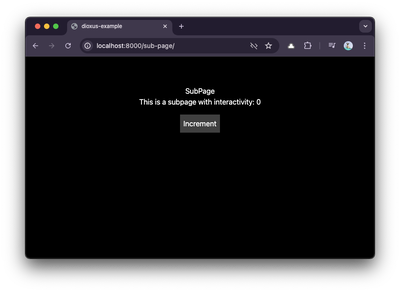
Our sub-page will look exactly the same, but once you try to interact with the Increment button when JavaScript is disabled it obviously will not work:
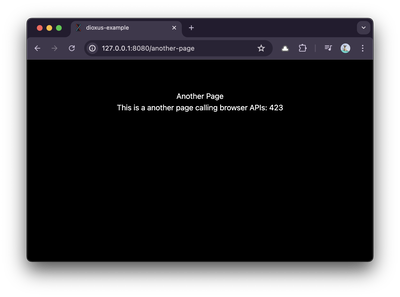
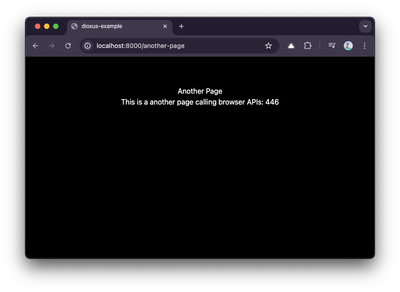
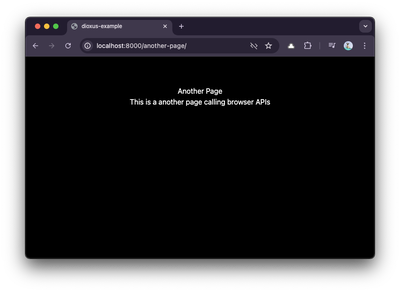
We do notice a tiny difference in our another, specifically it will never call the use_effect to get the browser height when JavaScript is disabled. Nothing surprising here:
Conclusion
While Next.js certainly had the smoothest path and the best support for SSG, especially with the benefit of asset chunking, the Rust-based frameworks show a viable path forward if you are committed to staying in the Rust ecosystem.
I personally found Leptos easier to set up and work with, but either framework is progressing very fast, so it’s a bit more up to personal preference.
As mentioned in the beginning of the post, our end results ended up being:
| Framework | SSG Support | Hydration Support | Assets Chunking |
|---|---|---|---|
| Next.js | ✅ | ✅ | ✅ Chunk per page |
| Leptos | ✅ | ✅ | ❌ One single WASM bundle* |
| Dioxus | ✅** | ✅ | ❌ One single WASM bundle* |
*: Support for chunking in WASM is generally poor, although recent strides have been made towards it (see wasm-bindgen#3939)
**: Dioxus support is in a state of flux, changing and improving how Static Generation is supported, leading to the docs and examples currently being broken (tracked in dioxus#2587)

